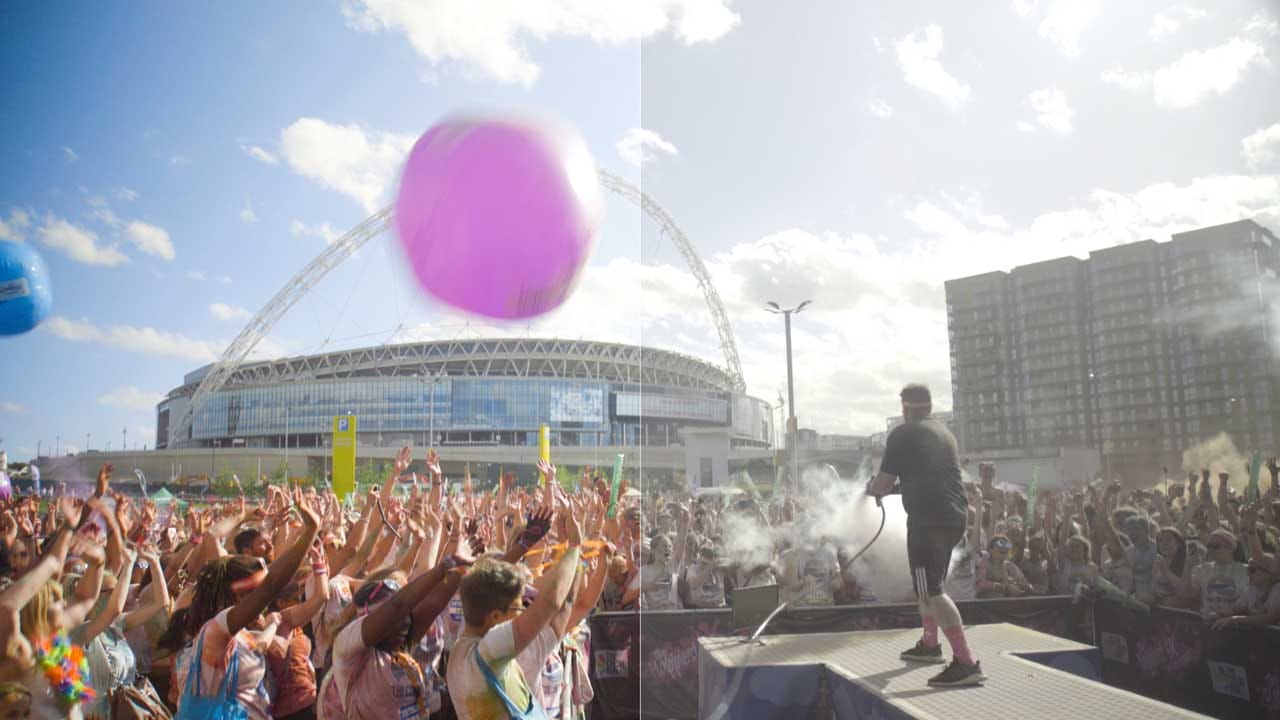
To color grade Sony S-Log3 for a cinematic look: 1. Offset Exposure: Bring down your +1.7 EV overexposed footage using the Offset wheel. 2. Color Transform: Apply a Color Space Transform (CST) from S-Gamut3.Cine / S-Log3 to Rec.709 / Gamma 2.4. 3. Balance & Grade: Adjust contrast pivot and apply signature creative looks from the LUTsMaster Cinematic Essentials Collection at 60-75% opacity.
Sony’s Alpha and Cinema Line cameras (FX3, FX6, A7S III, A7 IV) deliver incredible dynamic range when paired with S-Log3. However, straight out of camera, the footage looks flat, desaturated, and gray. The secret to transforming it into rich, cinema-grade imagery lies in a structured three-step grading sequence.
Step 1: Exposure Recovery & Noise Elimination
Because Sony S-Log3 should always be exposed slightly to the right (+1.5 to +2.0 EV) to saturate the sensor pixels, the raw clip will appear overexposed on a standard monitor. In your primary node:
- Use the Offset wheel to lower the overall signal until middle gray rests cleanly around 40–45 IRE.
- Check your shadows on the waveform monitor. Keep shadows resting around 5–10 IRE to ensure deep, clean blacks without crushing shadow detail.
| Grade Stage | Tool / Node | Target Scope Value | Key Tip |
|---|---|---|---|
| Primary Exposure | Offset Wheel | Middle Gray: 40-45 IRE | Never use Lift/Gain to fix global exposure |
| White Balance | Temp / Tint | R=G=B on neutral gray patches | Sample white highlights with RGB parade |
| Normalization | CST or Conversion LUT | Rec.709 / Gamma 2.4 | Ensure input is set to S-Gamut3.Cine |
| Creative Look | 3D Cinematic LUT | Key Output Gain: 0.65 – 0.75 | Apply from Cinematic Essentials |
Step 2: Conversion to Rec.709
Never apply a creative stylized LUT directly to raw S-Log3 footage. A creative LUT expects standard contrast and saturation. Always normalize the footage first using either a technical conversion LUT or a Color Space Transform (CST) node in DaVinci Resolve or Adobe Premiere Pro Lumetri.
Step 3: Sculpting Skin Tones & Contrast
Sony color science is celebrated for accuracy, but skin tones can occasionally drift slightly magenta or yellow under mixed LED lighting. Using the Hue vs Hue curve, gently isolate the orange/red vectors and align them with the 10:30 angle on the vectorscope.
Turn Your Color Grading Skills into Income
Learn how professional colorists build digital businesses and sell customized presets with SmartSellsHub.
Frequently Asked Questions
Why is my S-Log3 footage noisy in the shadows?
Where can I download professional Sony LUTs?
Comments (0)
Leave a Reply
Join the Discussion
You must have an account with us before you can leave a comment.
