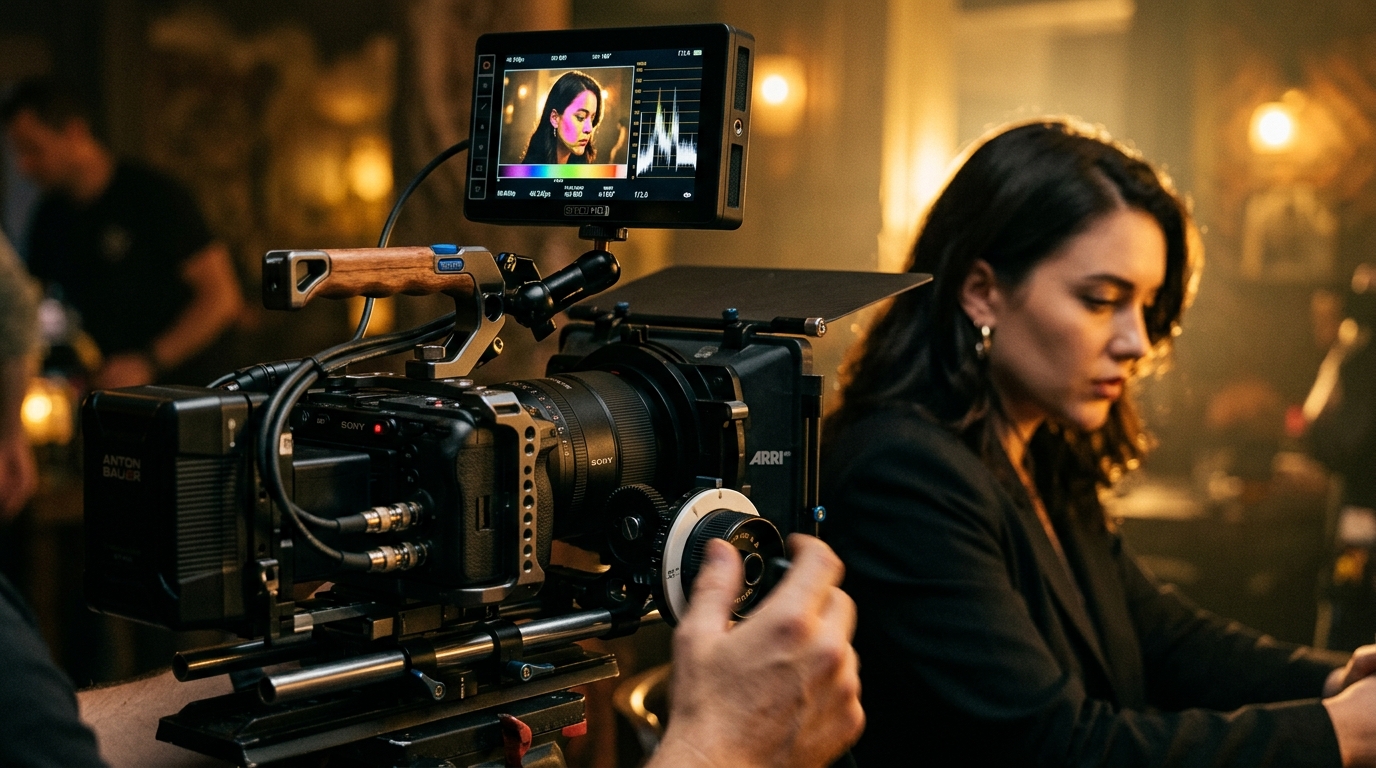
Sony S-Log3 CineEI Exposure & Color Grading Guide (2026 Edition: FX3, FX6 & A7S III)
To achieve clean, noise-free Sony S-Log3 footage with creamy skin tones, always expose between +1.3 and +2.0 EV above nominal metering (exposing to the right, or ETTR). In CineEI mode, lock your camera to its native base ISOs (800 or 12,800 on FX3/FX6/A7S III). Set custom zebras to 52%–55% IRE on an 18% gray card, or 65%–70% IRE on Caucasian skin tones. In post, pull exposure back down using the Offset wheel before applying your conversion LUT.
Sony’s S-Log3 paired with S-Gamut3.Cine is one of the most flexible log profiles in modern filmmaking, delivering over 15 stops of dynamic range. Yet many videographers struggle with noisy shadow grain and plastic skin tones. The problem almost always traces back to shooting in Flexible ISO mode and underexposing to protect highlights that were never in danger.
CineEI vs Flexible ISO: Why CineEI Wins in 2026
In traditional Flexible ISO mode, changing the ISO dial alters sensor analog gain or digital amplification at arbitrary values. In CineEI (Cinema Exposure Index), the sensor remains permanently locked at its cleanest dual-native analog circuits (Base Low and Base High). Changing the EI value only shifts the brightness of your viewfinder monitor LUT, forcing you to adjust physical aperture or ND filters to expose the sensor properly.
| Sony Camera Model | Low Base ISO | High Base ISO | Zebra 1 (Gray Card 18%) | Zebra 2 (Skin Highlights) | Zebra 3 (Highlight Clip) |
|---|---|---|---|---|---|
| Sony FX3 / FX30 | ISO 800 (FX3) / 800 (FX30) | ISO 12,800 (FX3) / 2,500 (FX30) | 52% – 55% IRE | 68% – 72% IRE | 94% IRE |
| Sony FX6 | ISO 800 | ISO 12,800 | 52% – 55% IRE | 65% – 70% IRE | 94% IRE |
| Sony A7S III | ISO 800 | ISO 12,800 | 52% – 55% IRE | 68% – 72% IRE | 95% IRE |
| Sony A7 IV | ISO 800 | ISO 3,200 | 52% – 55% IRE | 68% – 72% IRE | 94% IRE |
The Step-by-Step Color Grading Recipe for S-Log3
Once your footage is recorded with proper ETTR exposure, grading Sony footage in DaVinci Resolve or Premiere Pro Lumetri requires three methodical stages:
Step 1: Pull Down Exposure First
Because you overexposed by +1.7 EV on set, the raw footage appears washed out. In your first primary node, lower the Offset wheel until middle gray rests cleanly around 40–45% IRE on your waveform monitor. Pulling exposure down in post compresses sensor noise into pure, deep blacks, completely eliminating shadow grain without temporal noise reduction plugins.
Step 2: Color Space Transformation
Apply a Color Space Transform (CST) with the following exact parameters:
- Input Color Space: Sony S-Gamut3.Cine
- Input Gamma: Sony S-Log3
- Output Color Space: Rec.709 (or DaVinci Wide Gamut for color-managed workflows)
- Output Gamma: Gamma 2.4
- Tone Mapping: DaVinci or Luminance Mapping
Step 3: Creative Look Grading
With an accurate Rec.709 baseline established, apply your creative film aesthetic from the LUTsMaster Cinematic Essentials Pack. Because the signal was normalized cleanly, the LUT will respond exactly as intended, retaining smooth tonal gradients without clipping highlights.
Commercial Filmmaker Workflows on SmartSellsHub
Learn how commercial video creators land $5,000+ corporate video contracts with cinematic Sony workflows at SmartSellsHub.
Frequently Asked Questions
Should I use S-Gamut3 or S-Gamut3.Cine on Sony cameras?
Does overexposing S-Log3 by +2.0 EV blow out highlights?
Can I grade S-Log3 footage inside Adobe Premiere Pro Lumetri?
Comments (0)
Leave a Reply
Join the Discussion
You must have an account with us before you can leave a comment.
